

BRIDGE POSE
Benefits:
- Strengthens legs
- Stretches hip flexors
- Tones the spine
- Opens chest and shoulders
- Cultivates joy
- Moves one from the past into the present moment
- Helps alleviate depression
Questions about this pose?
Contraindications:
Neck injuries
Recent abdominal surgery of any kind
Menstruation (don’t stay too long, choose the supported version)
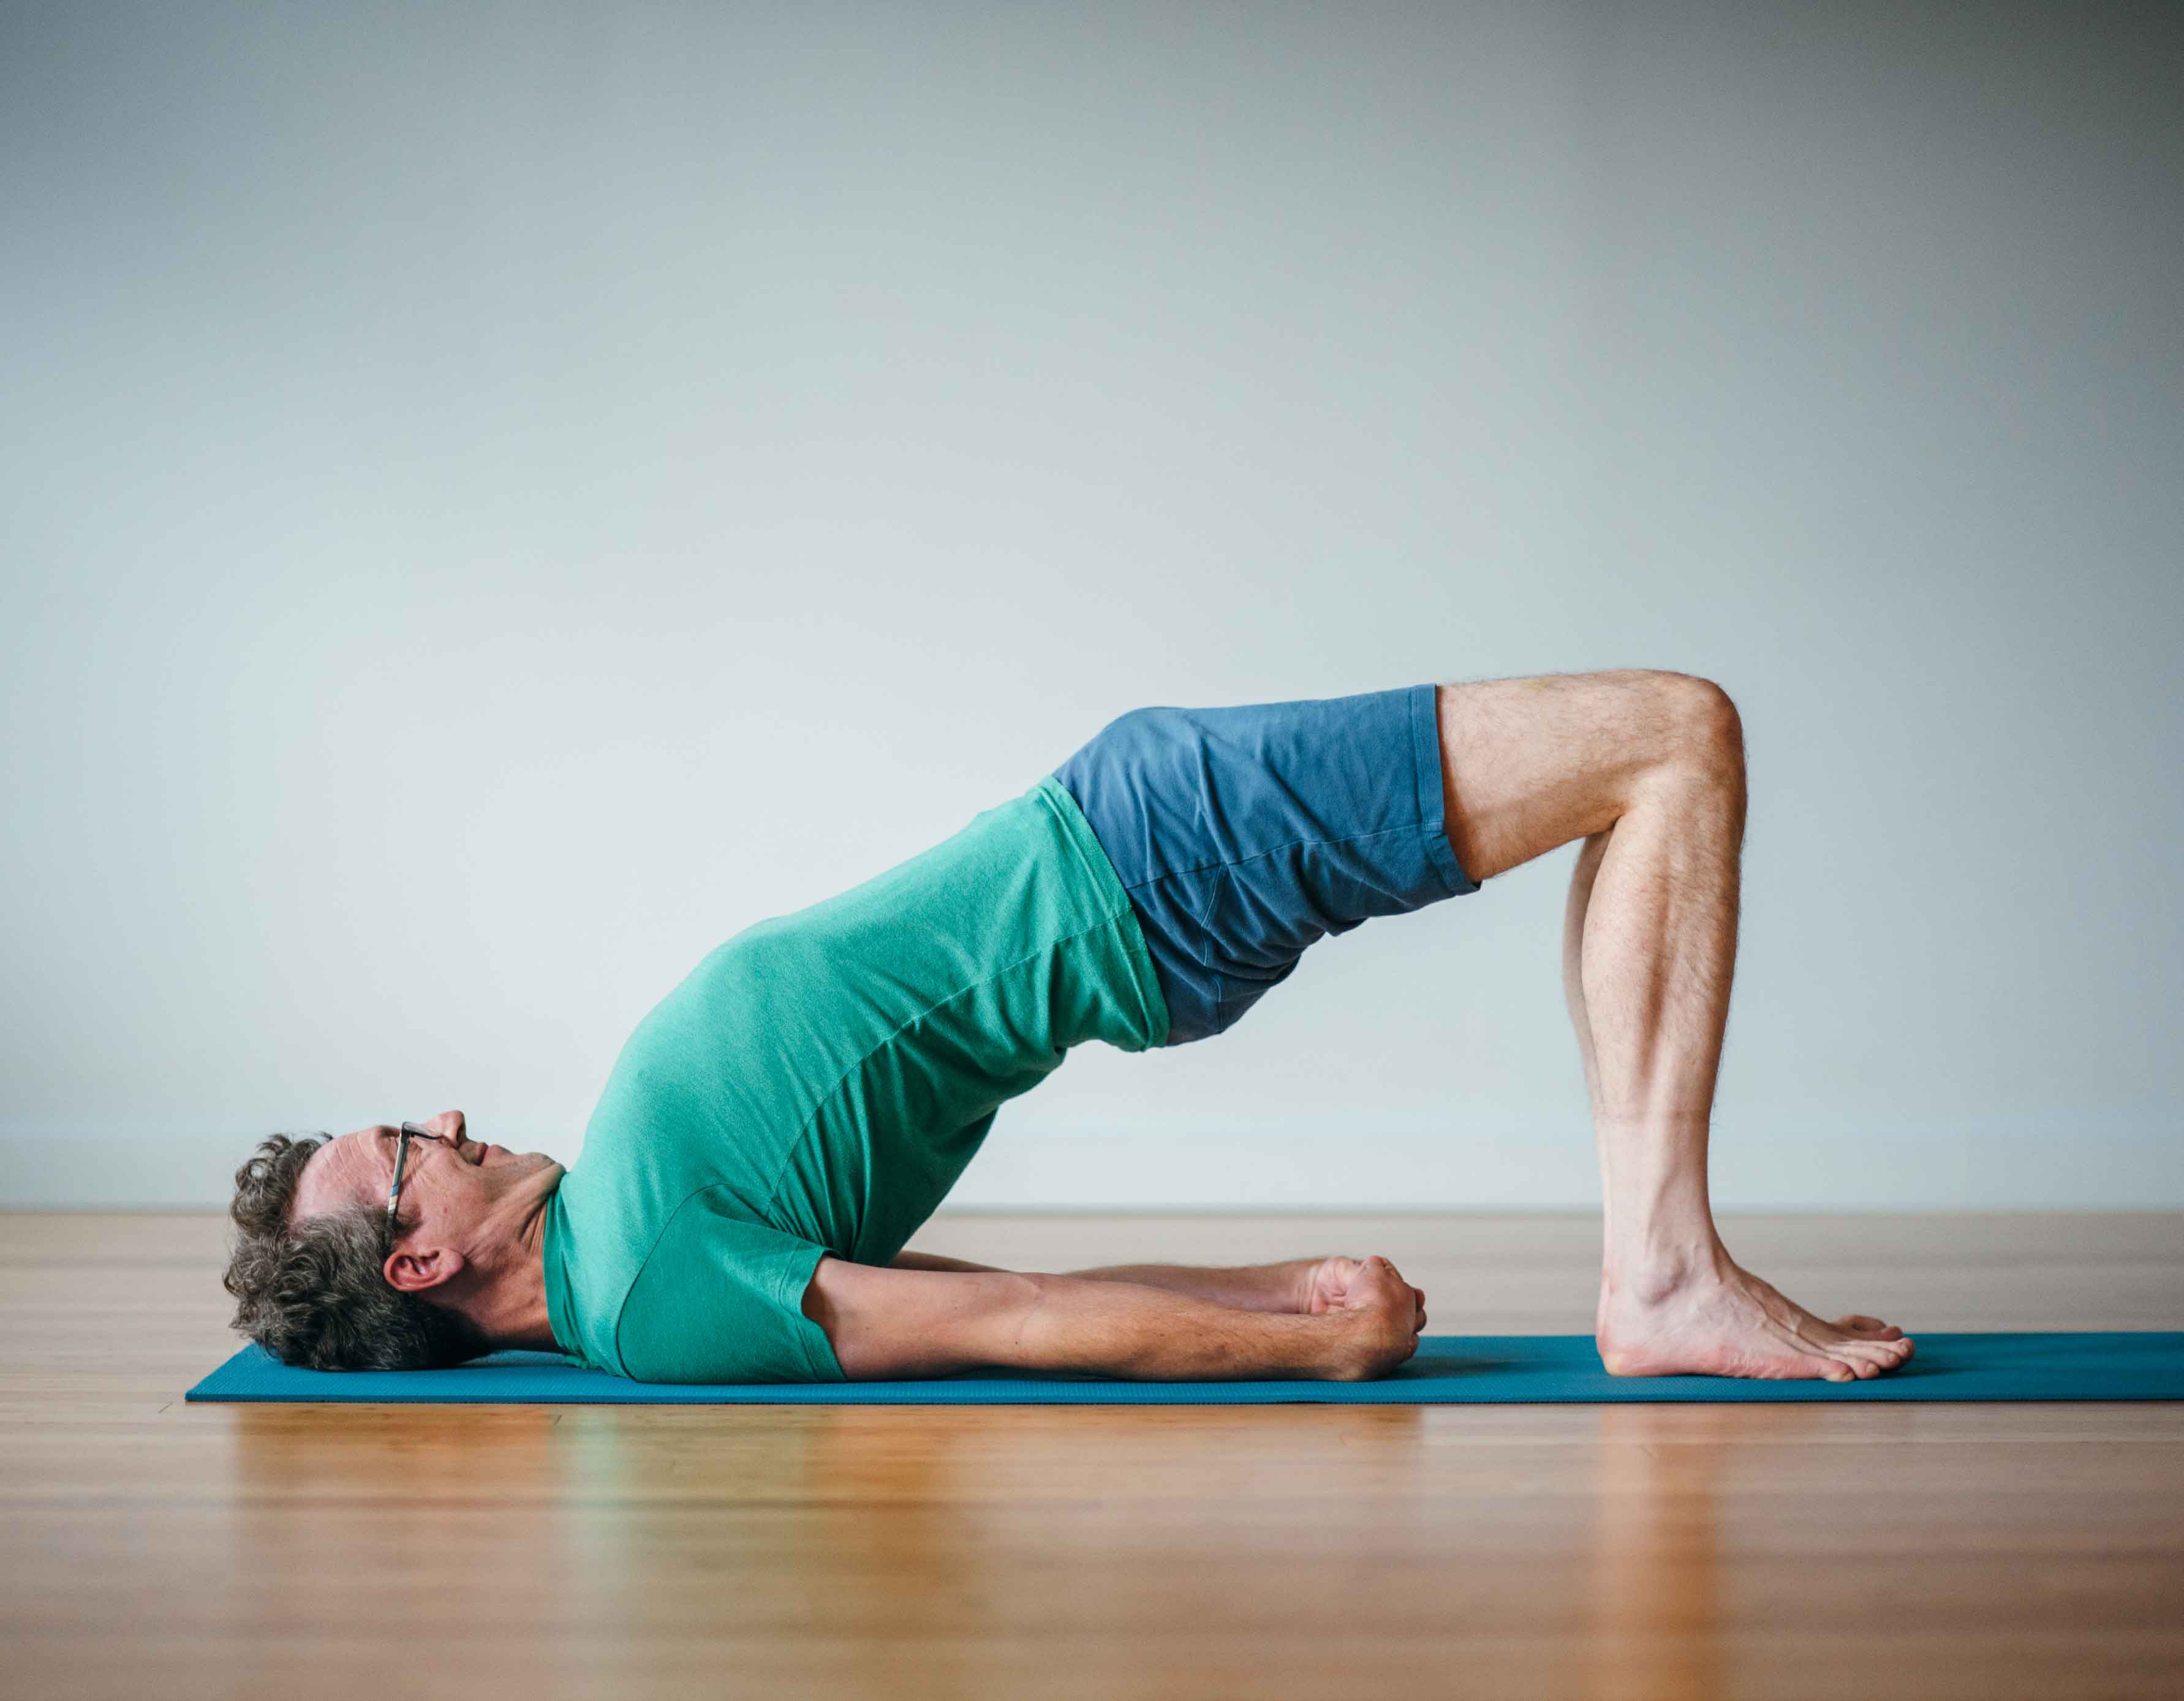
FINDING THE POSE:
Setu Bandha Sarvangasana is a multi-tasking pose. It opens the hips, shoulders, and chest. It can be done actively, as a backbend, or in a supportive manner (as shown here) to serve as an inversion variation. When done as a supportive pose, it has restorative qualities as well. Perfect for desk jockeys, especially at computer jobs!
Working actively
1.
Start lying on your back with your knees bent and your feet on the ground, close to your hips, with your heels in line with your sitting bones. Make your feet parallel to each other. Don’t let the toes point out. Bring your arms close to your sides while broadening across the collarbones.
2.
Exhaling, press down into the heels to lift the hips 6 to 8 inches off the ground. Interlace your hands behind your hips with straight arms. If the elbows bend, release the interlock and hold on to the sides of the mat.
3.
Roll to your left side, lifting the right shoulder off the ground, and externally rotate the right shoulder under the body so the armpit chest opens. Be careful not to pull the shoulder towards your feet as this shortens the spine. Repeat for the left shoulder.
4.
Inhaling, lift the hips as high as you can. Press down through the feet, wrists, and triceps to make space behind your knees, lift the sacrum towards the ceiling, and move the armpit chest towards your ears.
5.
Keep the thighbones parallel and reaching away from your head as you lift the bottom of your belly towards your sternum. Contract the buttocks and quadriceps to lift the pelvis. Press the four corners of the feet down and keep the arches active.
6.
Move the sacrum towards the tailbone and up towards the ceiling. Draw your gaze towards your Heart Center and soften the throat. Inhaling, open the chest. Exhaling, lift the pelvis.
7.
Stay for 9 breaths (or more). Exhaling, lower the hips about 75% down to the ground, then unroll the shoulders one by one. Now, lower the hips completely and rest with your knees bent and feet on the floor.
8.
If you feel knee pain in this pose, try two things. First, move your feet slightly away from your hips or closer to them to position your ankles under your knees. It’s possible that the knees are moving past the ankles or that the feet are too far forward in space. Second, hold a brick between your knees.
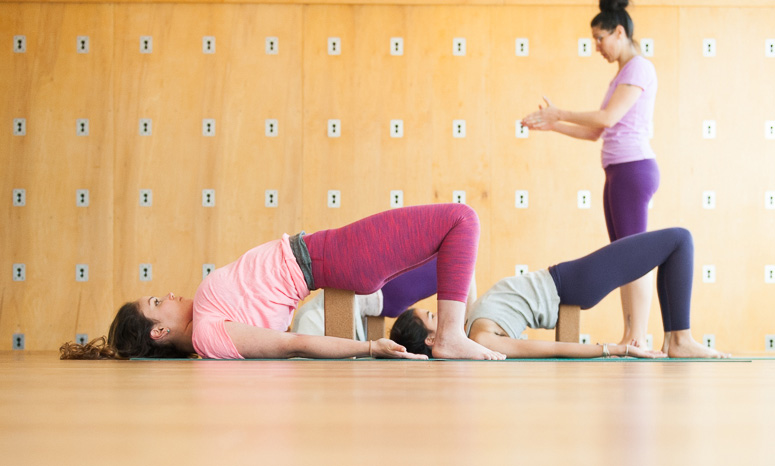
Using support
1.
Repeat the same steps as above, but once the shoulders are tucked under and the hips are lifted, place a wide brick at any height under the sacrum. Extend the arms with palms turned up towards the ceiling or hold the sides of the mat to find greater opening across the chest. Stay for as long as your breath is long, smooth, and even.
2.
When it is time to come out of the pose, barely lift your hips off the support three times. This lets the muscles holding the S-I joint know it’s time to work again after being supported. On the fourth time, lift the hips completely, remove the brick, come down 75% and then untuck the shoulders. Come all the way down and rest.